
Configure settings
UPMX Relationship Editor settings can easily add tables, authorize or restrict groups from creating certain relationship types, maintaining fields on relationships, and allowing/blocking the creation of duplicate relationships.
Add Relationship Editor to a table
You can add the Relationship Editor to any ServiceNow table as follows:
- Launch the Application Navigator and filter for the class containing the target table.
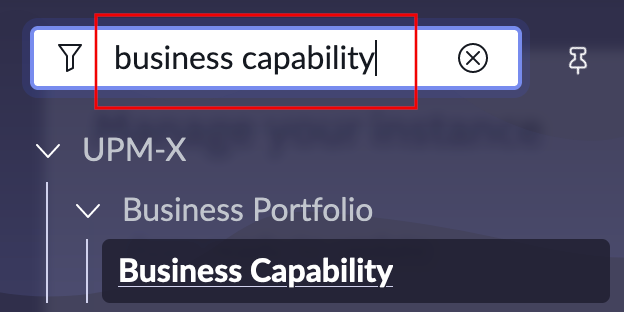
- Select the target table.
- Right-click the top of the menu and hover over Configure and then select Form Layout.
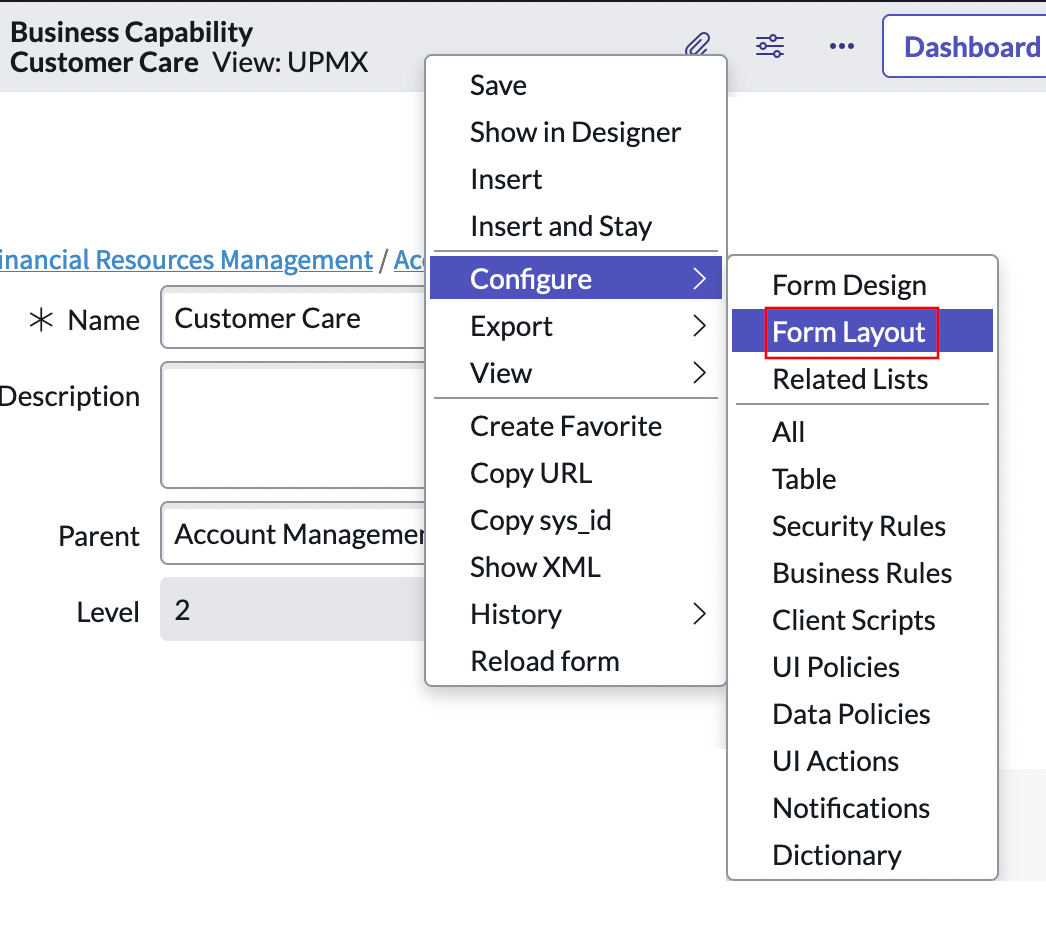
- On this menu scroll down to UPMX Create Relationship and select the right chevron > to add it to the table's UI and configuration options.
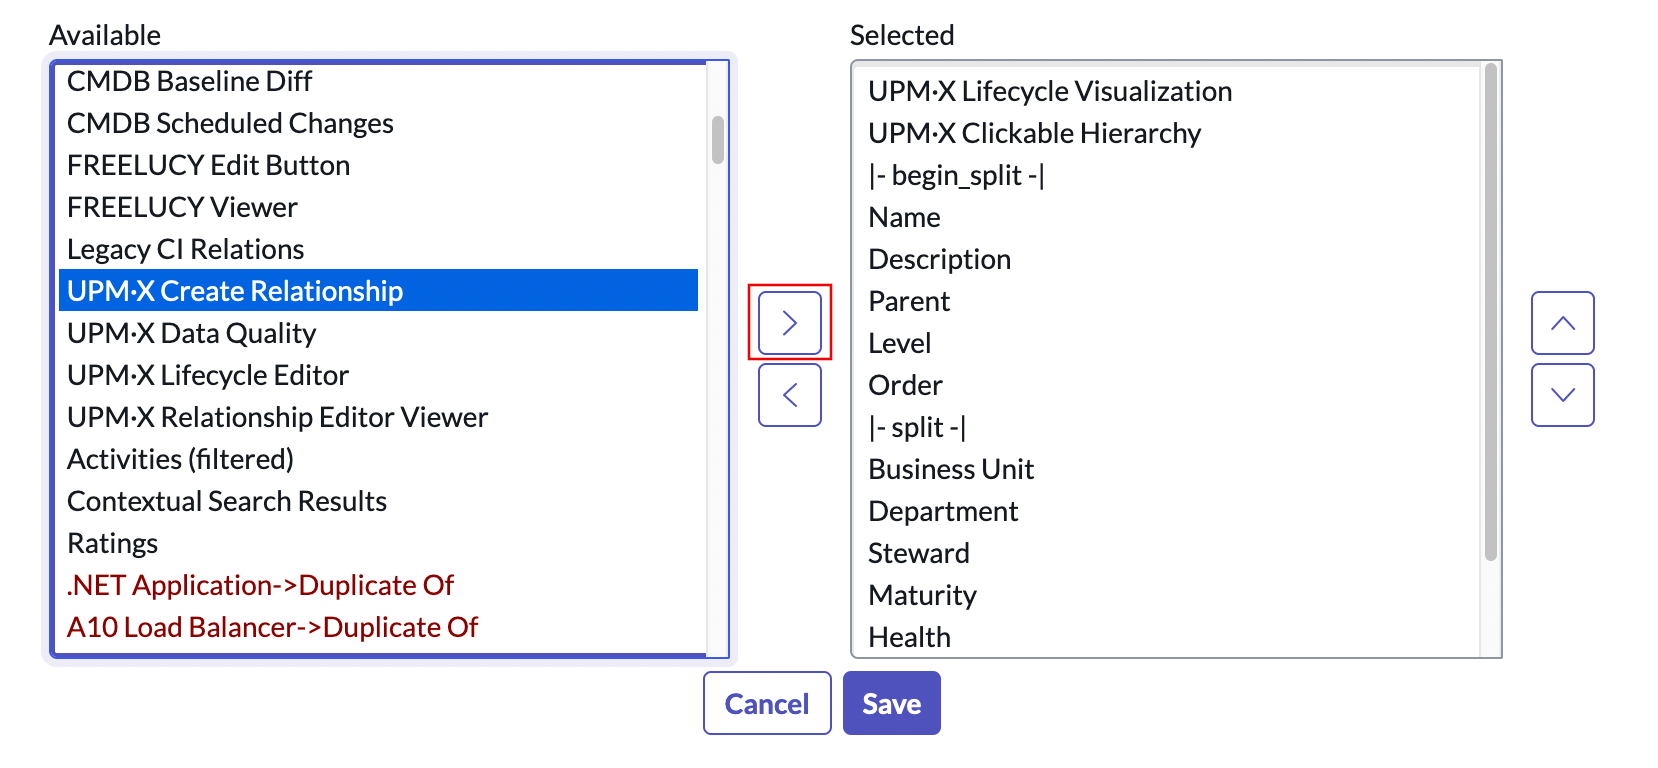
- Select Save.
Launch settings in the Relationship Editor
In the Relationship Editor:
- Select the cog icon.
Adjust settings
In the settings menu, you can see groups already added.
You can block these groups from accessing the Relationship Editor or set them as the only groups that can access the Relationship Editor by toggling the Currently allowing all groups button.
You can permit groups in the settings to create duplicate relationships by toggling the Allow duplicate relationships button.
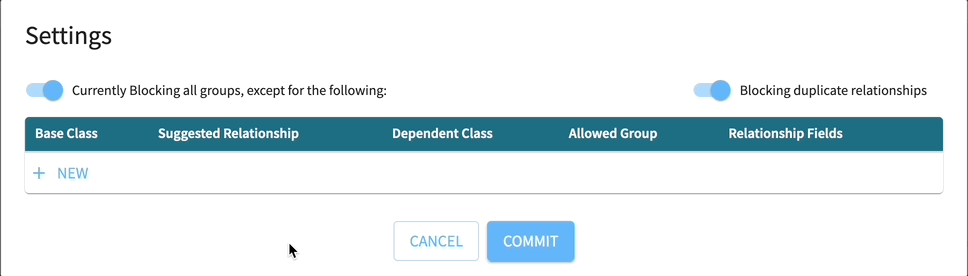
To apply any changes you have made to settings, select Commit.
Add groups
If you want to add more groups to the list in settings:
- Chose a Base Class (required), Suggested Relationship (required) Dependent Class (required), Group (optional), and Relationship Field (optional).
- Select Save.
- Select Commit to apply any changes you have made.
Any user in a blocked group (including ServiceNow administrators) cannot edit relationships in the UPMX Relationship Editor.
Updated about 1 year ago