How to edit relationships
This document shows you how to adjust mapped relationships.
Check relationship types
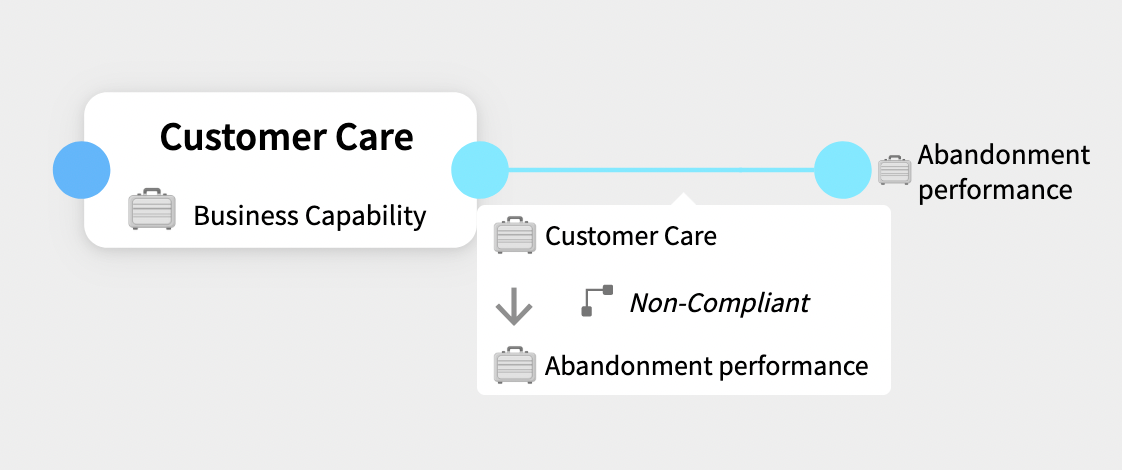
To check the relationship type between an existing relationship:
- Hover your cursor over the blue line linking the elements.

A pop-up appears that describes the relationship between the elements.
Remap relationships
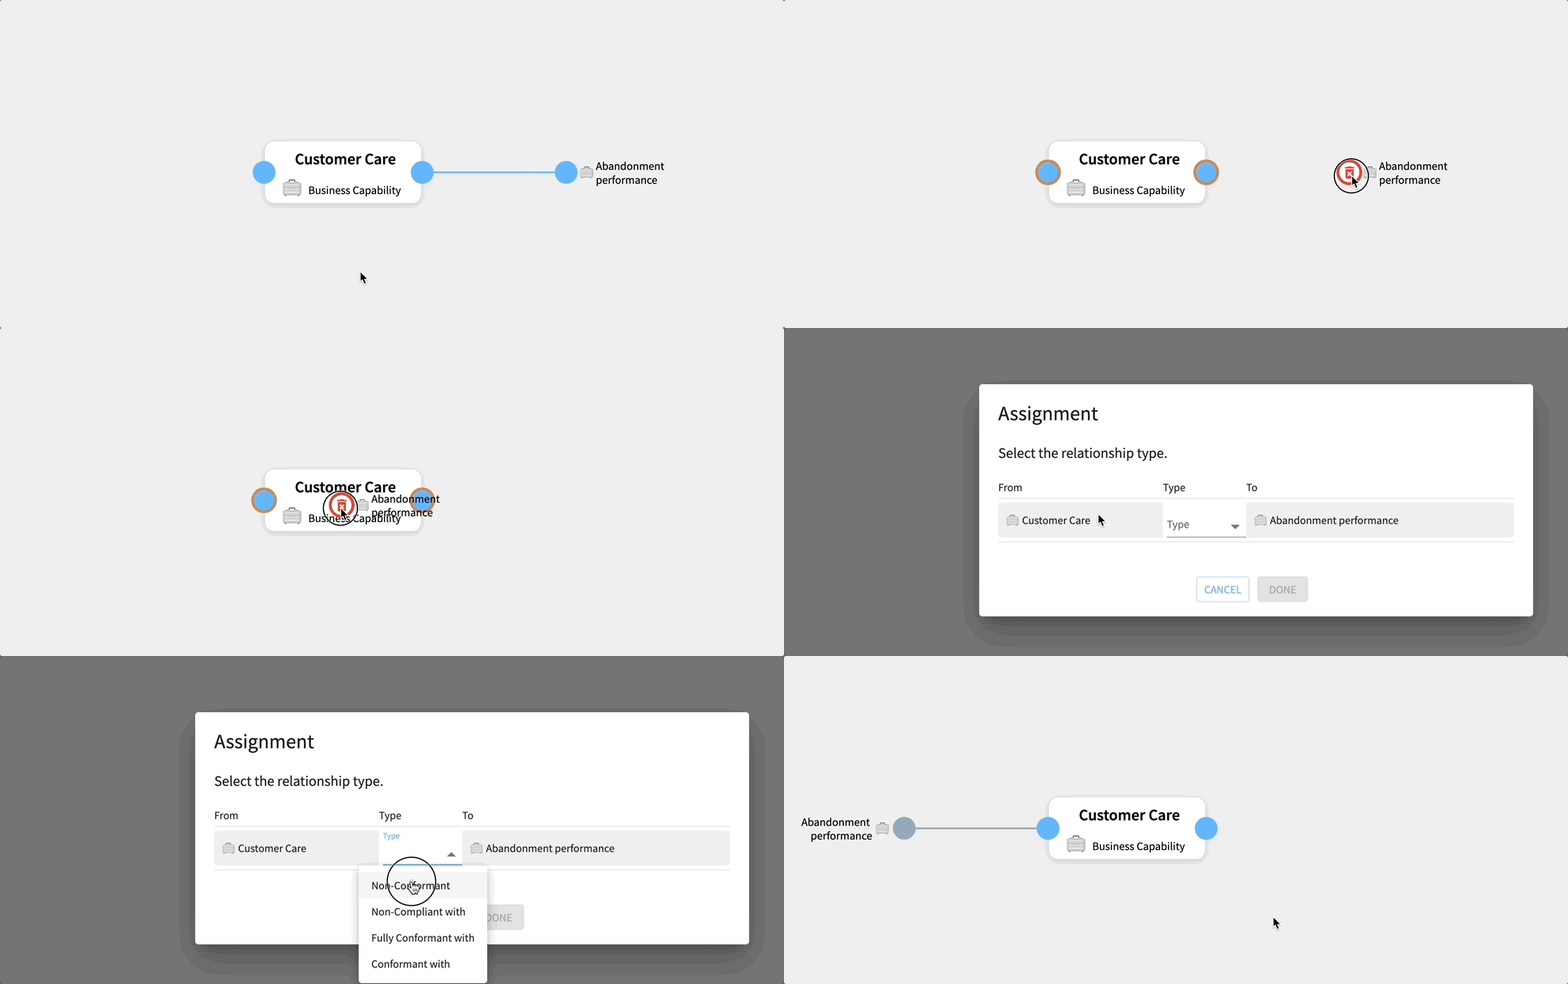
To switch an element from downstream to upstream:
- Select the element. An orange border appears around both circles.
- Drag the element to the left circle. An assignment pop-up menu appears.
- Select the relationship type.
- Select Done.

The relationship is now remapped. To map from upstream to downstream follow the same procedure, except drag the element to the right circle.
Delete relationships
To delete a relationship:
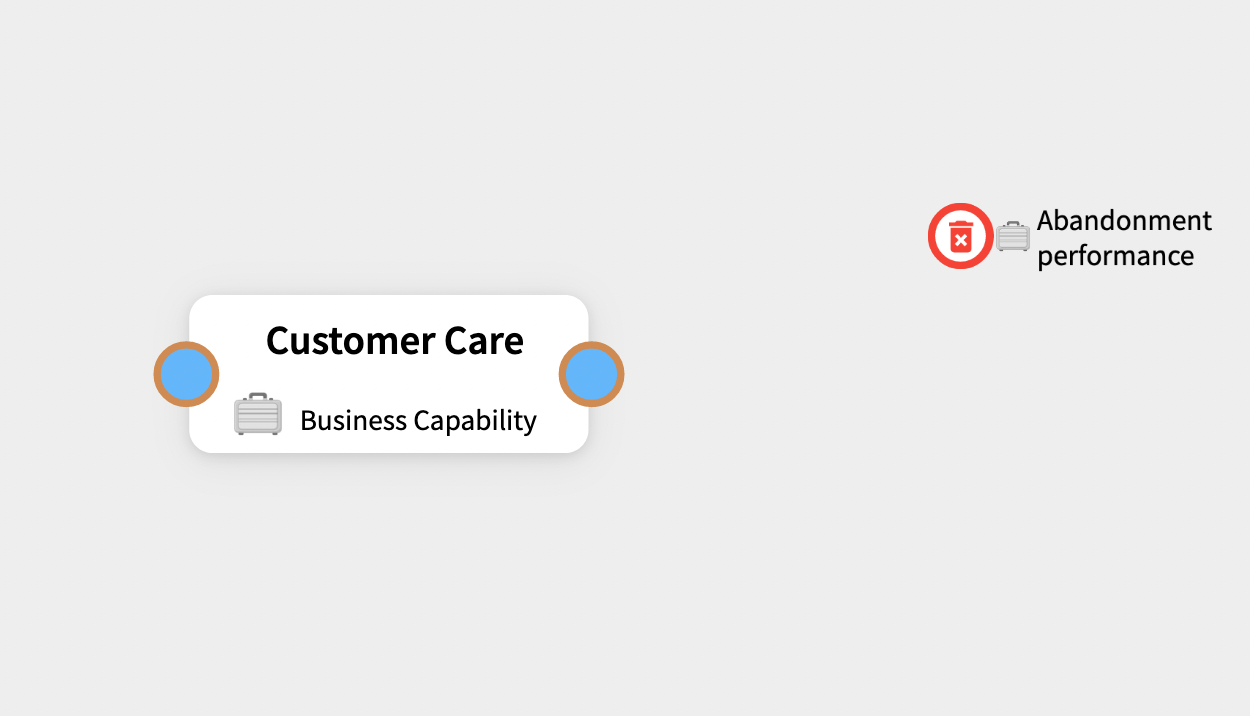
- Select the circle beside the element you wish to remove and hold the mouse button down. The circle changes from a blue color to a trash icon and the line connecting the element to the main element disappears.

- Drag the circle in any direction away from its starting position. Release the mouse button.
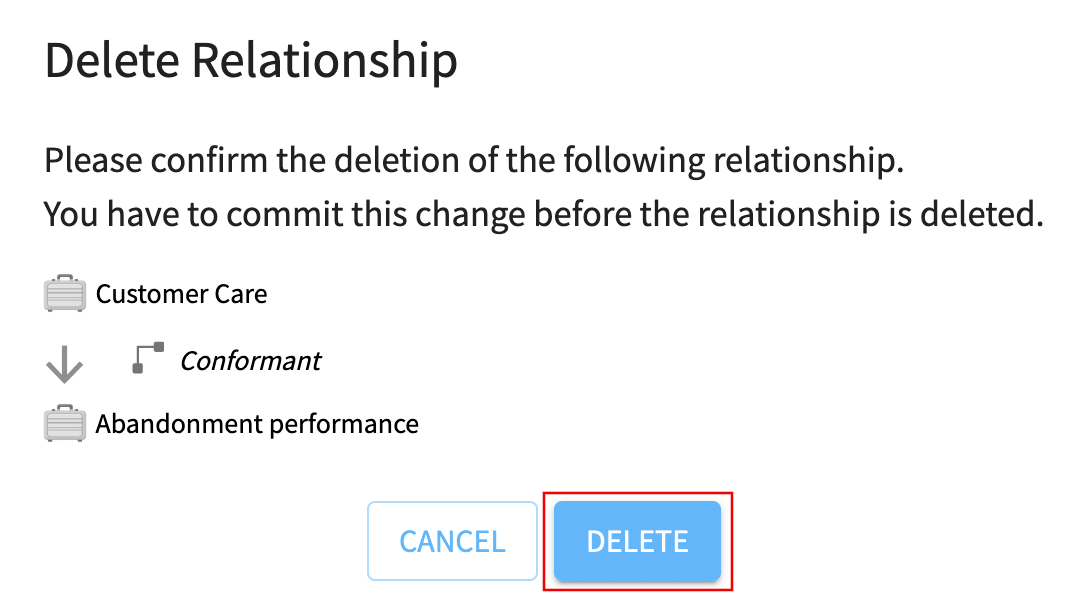
- A pop-up menu appears. To delete the element, select Delete.

Access elements' form view
If you want to return to the form view of the primary element:
- Right-click either the left or right blue circles.

- From the pop-up menu select Open Form.
If you want to see the form view of a connected element:
- Right-click on its blue circle.

- From the pop-up menu select Open Form.
Map connected elements' relationships
To map relationships for a connected element in an existing diagram:
- Right-click on its blue circle.

- From the pop-up menu select Jump to.
The connected element now becomes the primary element and you can map upstream and downstream relationships to it.
Update organizational unit
- Select the Relationships Field button.

- Choose a new organizational unit from the Relationship Fields dropdown menu.
- Select Confirm to make the update.
Updated 11 months ago
